

Under certain circumstances, even self-priming pumps require manual priming by a gravity feed
It’s a question we get rather frequently at QRFS: Do I have to manually prime my hydrostatic test pump before I use it? Get pump priming wrong and you risk costly damage to your pump.
In this blog, we aim to clear up confusion about when you must manually prime a hydrostatic test pump with a gravity feed before performing a system test. We will also offer four simple steps for priming a hydrostatic pump, no matter the pressure delivered by the water source.
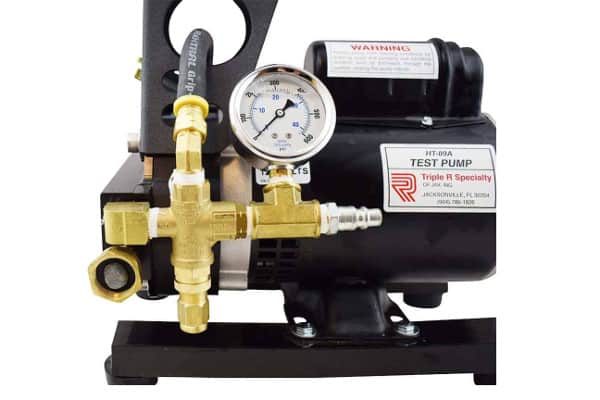
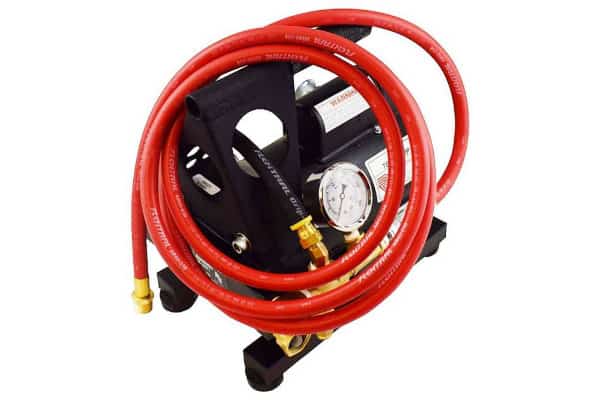
If you’re shopping for a hydrostatic test pump, feel free to skip directly to our selection of Triple R pumps. QRFS carries the lightweight and versatile Tru-Test models (250 psi/2.2 GPM) in either 120 Volt AC or 12 Volt DC configurations, the latter of which can be conveniently run off of a vehicle battery. We also have the more powerful HT-454 (400 psi/3.0 GPM), HT90E, and HT89A models (both at 300 psi/3.0 GPM, but the HT89A includes a pressure regulator).
Back to basics: when hydrostatic testing is required
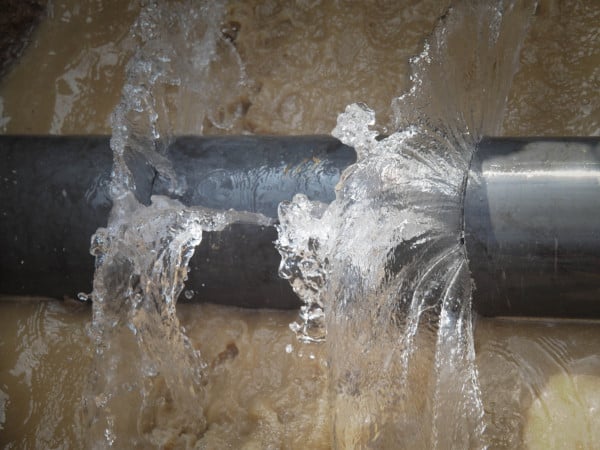
During hydrostatic testing, a hydrostatic test pump forces water into a piping network at elevated pressure. This offers reassurance that the system’s piping set-up is drip-free and won’t fail during normal use, and such tests are used to check everything from plumbing to water-based fire protection systems. For more details about when, where, and how hydrostatic testing is required in the latter, read our previous blog: “What is Hydrostatic Testing of a Building’s Fire Protection Systems? ”
In other blogs, we have explained the parts and function of hydrostatic test pumps and showed how to use and troubleshoot them. We have also offered tips for choosing the right pump and highlighted the most important features to consider.
But based on the number of calls we get, there is still confusion around whether manual priming is a necessary step in preparing a hydrostatic test pump for testing. Let’s dig into when pump priming becomes critical to avoiding damage to your pump:

What does it mean to “prime” a pump?
Priming is key to using a hydrostatic test pump without risk of damage to the equipment. Put simply, it’s the process of removing air from the pump and suction line, paving the way for atmospheric and flooding pressures to flow liquid into the pump.
Here’s why it matters: water acts as a coolant that prevents a pump from overheating. Failing to prime forces the pump to run dry, potentially leading to serious damage to components that will cause the pump to break down.
QRFS carries some of the best-selling hydrostatic test pumps on the market, and they are all self-priming. That means they are generally capable of clearing the air from their passages and resuming normal pumping without supervision.
But here’s the thing: most self-priming hydrostatic pumps contain piston- or plunger-type pumps that work best with pressurized water sources, like a city water supply. They are not designed to suck water from a non-pressurized water source.
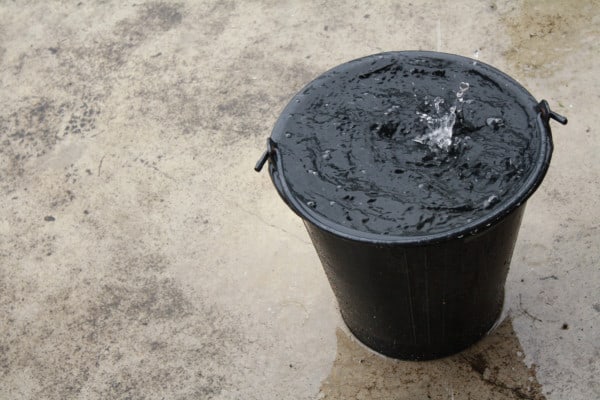
That doesn’t mean it can’t be done. But if the water source that will be used to perform a hydrostatic test isn’t pressurized—think a reservoir or a simple bucket of water—then the pump needs to be manually primed with a gravity feed. Basically, successful pump priming means establishing a positive flow by using gravity as the pressure source for flowing water into the pump.
There’s one other exception that requires manual pump priming of hydrostatic pumps with a gravity feed: systems that rely on antifreeze to avoid frozen pipes. Antifreeze exhibits a higher viscosity than water that isn’t easily suctioned by pumps. When testing is performed on systems in colder climates that use antifreeze, manual priming the antifreeze into the pump is also required—even if the separate water source is pressurized. If the water source isn’t pressurized, it will also need manual pump priming.
A step-by-step guide to priming a hydrostatic test pump
So, now that you know when to prime a hydrostatic pump, let’s review how to do it. Remember, these instructions are overall best practices—they are not meant to replace proper training or instructions from your pump’s manufacturer, which will vary for every pump.
1. Before you begin, make sure any strainers or washer screens for your input hose are connected to the pump’s intake fitting. Fasten the inlet supply line (which has attachments like a simple garden hose) to the pump’s inlet port, and the other end to the water source, taking extra care to ensure the line doesn’t kink.
2. Attach the quick-disconnect outlet hose to the outlet port on the pump—but don’t connect the output end of this hose to the fire protection system you’ll be testing just yet. If your pump can tap into a pressurized water source, simply turn on the supply of water to prime your pump. If your pump features an outlet valve (note: Triple R pumps sold by QRFS do not have/need these), you should also open it to purge air from the pump. There is no need to turn the pump on until you begin the test.
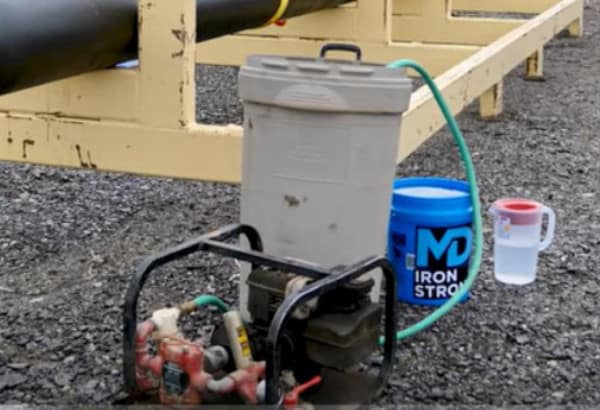
If the pump must use a non-pressurized water source, a gravity feed is needed for priming. It’s easy to create: place the pump at a lower elevation than the container holding the supply of water, open the priming valve if your pump includes one (again, Triple R pumps don’t), turn the pump on, and let gravity do its work through the intake hose/inlet supply line.
3. Siphon the water, if necessary: Sometimes, an elevated container alone will be enough to get water flowing through the inlet supply line that leads to the pump: for instance, attaching a spout to a closed container tipped onto its side in the bed of a pick-up truck can be a perfect set-up for a gravity feed to a pump on the ground. You can also use a suction hose as your supply line to draw water into a gravity feed. But for other common methods—such as running a simple garden hose into an open drum of water—you may need to start a siphon before gravity can do its work.
There are a few possible ways for siphoning water; the most commonly understood is probably using your mouth to get hose flowing—but that wouldn’t be our first choice. A good method is siphoning by submersion: submerge the hose in the elevated container of water until all the air bubbles have left the hose. Then, place a cap or your hand over the end that you will connect to the pump until the hose is connected. Water should flow from the container into the pump.
No matter which siphoning method you choose, be sure the open hose end in the water source isn’t resting on the bottom or side of the supply container, which can stop water from flowing and lead to priming and suction problems with the pump.
4. When water starts to flow out of the outlet hose, close the priming valve (if the pump has one) and/or turn off the pump if it’s on. (Again, running the pump is only necessary if you’ve primed with a non-pressurized water source.)
Now you’re ready to connect the outlet hose to the system being tested. Keep in mind that connecting the outlet hose to the system inlet may require additional reducers or adapters, especially if the hose is being attached to a Fire Department Connection (FDC).
5. Your pump is now primed and attached to the pipe system. Assuming the system undergoing testing is sufficiently filled, you can begin pressure testing.
3 helpful tips for priming a test pump
- Filling the input hose with water before turning on the pump makes it easier to prime from a non-pressurized water source.
- Loose connections between the hose and hydrostatic pump can make priming a challenge. Be sure to check that the attachment made at the input fitting is securely tightened so the pump doesn’t suck in air.
- Short, sturdy hoses work best for priming pumps. The suction of the pump tends to cause long hoses to collapse when drawing liquid from a non-pressurized system, greatly restricting water flow.
Avoid damage to hydrostatic test pumps
Hydrostatic test pumps give building owners, inspectors, and installers peace of mind that fire sprinklers, standpipe systems, plumbing, and other pipe networks will perform under pressure. Knowing when you need to manually prime the pump is key to avoiding potentially pricey damage to your equipment.
If you’re shopping for a hydrostatic test pump, feel free to skip directly to our selection of Triple R pumps. QRFS carries the lightweight and versatile Tru-Test models (250 psi/2.2 GPM) in either 120 Volt AC or 12 Volt DC configurations, the latter of which can be conveniently run off of a vehicle battery. We also have the more powerful HT-454 (400 psi/3.0 GPM), HT90E, and HT89A models (both at 300 psi/3.0 GPM, but the HT89A includes a pressure regulator).
For any other pump you may be interested in, or to find out more information about hydrostatic testing, give us a call at 888.392.3362 or email support@qrfs.com.
This blog was originally posted at blog.qrfs.com. If this article helped you learn about hydrostatic pumps, check us out at Facebook.com/QuickResponseFireSupply or on Twitter @QuickResponseFS.